

The Pick & Pack page in your Settings allows you to set up satchels and parcels that orders will be assigned to depending on their weight. This page is divided into 2 sections:
- Automatic Package Sorting
- Pick & Pack Advanced Settings
Automatic Package Sorting
To save time and shipping costs, you can customise this based on how you'd like your orders allocated to various package types.
Ship using satchels?
Our tool has pre-tabulated the most common satchel sizes and their weights and dimensions in the Carrier Default Presets table.
- At the end of the row for each satchel type, a toggle switch allows you to either turn On or Off that satchel type. A satchel type that is turned off does not appear as an option when placing a new order.
- The first and second satchel types are the same size but the first one gives carriers an Authority to Leave the package on location without the recipient present.
Ship using boxes?
Add your box sizes as Custom Preset by clicking the blue Add Preset button and filling out the name and dimensions.
Alternatively, these details can be added per order or synced from your integration.

Advanced Settings
Using Advanced Settings, you can choose whether you'd like Shippit to automatically:
- Show a packing confirmation for all orders
- Allocate each item in an order to a separate box

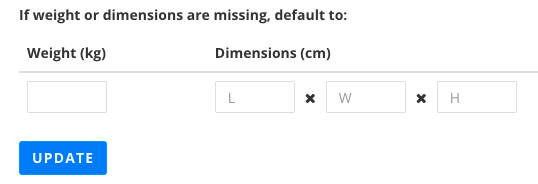
Set a default weight and dimension
For orders that may be missing these details, you can allow Shippit to default to a weight and dimension of your choice.
💡 Tip
For new orders synced from an integration, the allocation is based on volumetric weight so please ensure that you are using the appropriate box size for your orders. If you ship with oversized boxes, you may need to enter the volumetric weight of the box instead of the dead weight of the product to help in automatic allocation.